
Why Window Glazing Putty Fails in Older Cape Coral Homes
A thin crack around an older window can be easy to ignore until rain leaves a mark on the sill. If your home has traditional glazed windows, failing window glazing putty may leave the glass edge exposed to weather.
The right repair depends on more than the crack you can see. First, it helps to know whether the putty, the sash, or another part of the window is letting moisture in.
What glazing putty does on an older window
On a traditional wood sash, glazing putty forms a sloped bead where the glass meets the wood. It helps hold the pane in place alongside glazing points and sheds water away from the glass edge. Paint typically protects the cured putty and its junction with the sash.
That construction isn't found on every older Cape Coral home. Many aluminum and vinyl windows use removable glazing beads, gaskets, or other seal systems instead. An insulated double-pane unit also has its own factory-sealed edge. Putty on the outside of a sash cannot repair a failed seal between two panes.
Before planning maintenance, identify which joint has failed . The glass-to-sash joint differs from the seal between the window frame and the wall. Treating one won't necessarily fix a leak at the other.
Why window glazing putty fails in Cape Coral weather
Putty can lose flexibility, crack, or pull away as a window ages. Southwest Florida conditions can add stress, but exposure varies by home. A shaded window under a deep overhang faces different conditions than an unprotected west-facing pane.
Sun and heat work on the exposed bead
Direct sun heats glass and sash materials during the day. As they cool, those materials contract. Repeated movement can strain an aging putty bead, especially if it was already hard, thin, or poorly bonded.
Paint condition matters, too. When the protective coating peels or separates at the glass edge, more of the putty faces direct weather. A sun-exposed bead may show fine cracks first, while a sheltered window on the same house still looks sound. A crack alone, however, doesn't prove heat was the cause.
Moisture and coastal exposure can complicate the failure
Humid air doesn't automatically make putty fail. The bigger concern is moisture reaching vulnerable material through gaps or damaged paint. If water lingers against a wood sash, the wood can swell or deteriorate, making a new bead harder to keep intact.
During heavy rain, wind can drive water toward joints that normally stay dry. Homes nearer open water may also see more salt-related corrosion on exposed metal glazing points or hardware. Salt air isn't proof that putty itself has failed; its effect depends on the window's materials, upkeep, and exposure.
A fresh putty bead may still leak if the wood beneath it is soft or water enters where the frame meets the wall.
Signs the glazing needs attention
The earliest changes are often visible from outside, where the bead faces the weather. Inspect the window from a safe position rather than leaning out or pressing on the glass.
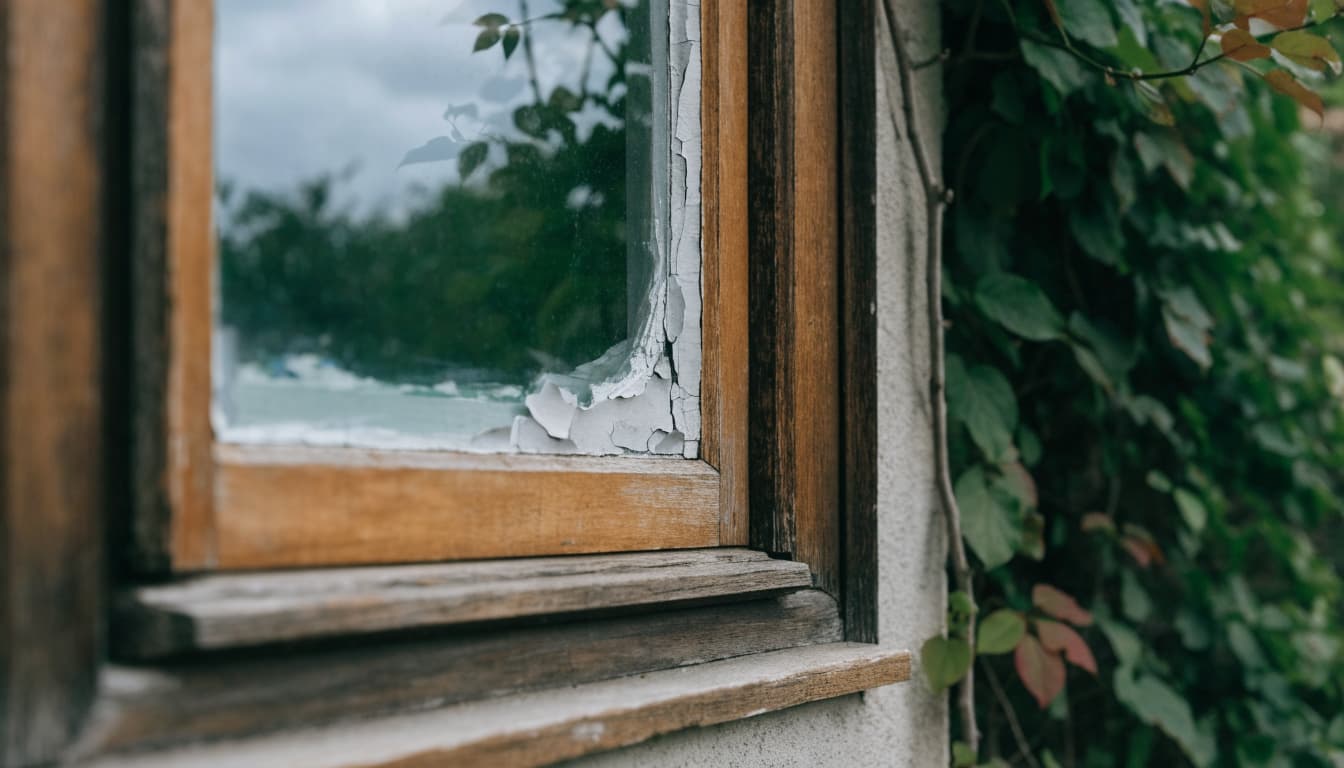
Cracks, missing sections, and loose glass
Look for hairline cracks that have widened, chunks of putty on the sill, or a gap between the bead and either the glass or wood. Flaking paint along that joint deserves attention because it can leave the putty exposed.
A pane that rattles or shifts is more urgent. Don't test it by pushing on the glass. Keep people away if the pane seems loose, and arrange an inspection before operating the sash.
Stains can point to a different joint
Peeling interior paint, a dark sill, or swollen trim may appear near a failed putty bead. Still, water can travel from a higher joint or enter around the frame before it becomes visible indoors. Note when the mark appears, especially after wind-driven rain.
Fog trapped between two panes points to the sealed glass unit rather than exterior putty. Condensation you can wipe from the room-side surface is different again. These distinctions can spare you a repair that leaves the real problem untouched.
Check the sash before deciding on a repair
Start with a visual inspection in good daylight. Look at the full bead, the paint line, the lower corners, and the sill. Compare the window with nearby ones that face the same direction. Take photos of any gaps or stains so you can track whether they change.
Next, check what you can without disturbing the glazing. Does the sash close normally? Are the corners tight? Is the wood visibly split, swollen, or soft? A small section of missing putty on a sound sash calls for a different response than widespread decay or a window that no longer closes squarely.
Keep routine care gentle. Clear dirt from accessible sills and drainage areas, maintain sound paint, and recheck vulnerable windows after heavy rain. Don't scrape hardened putty beside the glass or cover unknown gaps with a thick line of caulk. Either step can damage the pane or hide an opening that needs a closer look. If old paint may contain lead, ask about appropriate precautions before disturbing it.
When a focused putty repair makes sense
A limited reglazing repair is often reasonable when the pane is intact, the sash is firm, and the damage is confined to the glazing bead. The condition of the wood matters more than the apparent size of the crack.
Sound wood gives the new bead a dependable base
A repair begins with examining how well the remaining putty adheres. Loose material must come off without placing pressure on the pane. The exposed sash then needs a sound, prepared surface suited to the glazing compound.
If moisture has softened the wood, applying fresh compound over it leaves the underlying problem in place. The same applies to a sash that twists or moves excessively. Repairing those conditions may be necessary before reglazing can hold up.
Materials and finish need to match the window
Traditional putty work calls for a compound compatible with the sash, glass, and planned paint finish. The bead should seat against both surfaces and slope to shed water. Product instructions determine preparation, curing, and when painting can begin.
A quick smear over old, loose putty rarely creates a reliable bond. Likewise, generic caulk isn't an automatic substitute for a glazing system designed to use putty. Once the compound is ready, maintaining the protective paint line helps keep the glass-to-sash joint covered.
When glass or broader window work makes more sense
Sometimes the putty is only one part of the problem. The decision changes if the pane is damaged, the sash can't support it, or water is entering elsewhere.
Broken panes and fogged units need different work
A cracked or loose pane warrants prompt attention. A qualified glazier can check whether the existing sash will safely accept replacement glass and whether the location calls for a particular glass type. Caloosahatchee Glass & Mirror lists residential glass repair and replacement, including broken window repair and insulated glass replacement.
If haze stays between the panes of an insulated glass unit, replacing exterior putty won't clear it. A technician can assess whether the sealed unit can be replaced while keeping a sound sash. For an unusual opening, properly measured custom-cut replacement glass may preserve the existing frame.
A damaged sash or opening changes the scope
Soft wood, loose corners, significant corrosion, or a frame that shifts during operation calls for a wider assessment. So do repeat leaks after earlier surface repairs. New glass or putty won't correct failed flashing or an unsound opening.
Ask what is being repaired: the glazing, the sash, or the full window assembly. If a replacement is proposed, the glass, frame, and installation details must suit the opening and applicable requirements. A thicker pane alone doesn't turn an older window into an impact-rated assembly.
When to call a qualified window professional
Arrange an inspection when the pane moves, glass is cracked, interior staining returns, or the sash shows rot or corrosion. Professional help also makes sense when you can't tell whether the window uses putty, glazing beads, or a sealed glass unit. Avoid handling loose glass while you wait.
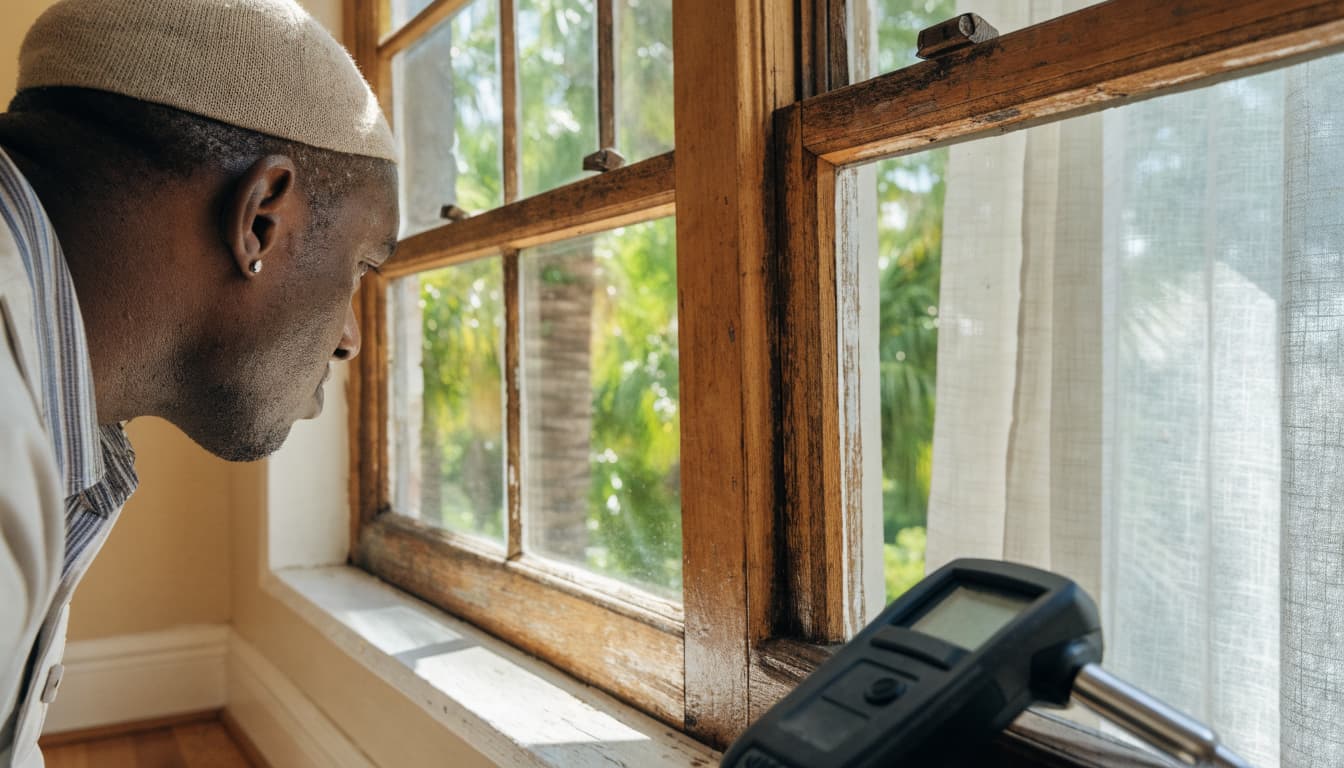
During the visit, ask the glazier to check the glass edge, sash, frame, sill, and surrounding trim. Describe when the leak occurs and whether the window has been repaired before. Those details help separate a local putty problem from water entering around the opening.
For homeowners comparing local options, Caloosahatchee Glass & Mirror describes its Cape Coral glass services as including residential repair and replacement. Request a clear scope before work begins, especially if hidden sash damage could change the plan.
Key takeaways
- Glazing putty protects the joint between a traditional pane and sash, but many windows use different glazing systems.
- Heat, rain, moisture, and coastal exposure can add wear. The cause of a particular failure still needs an inspection.
- Sound sashes may need only focused reglazing. Loose glass, damaged frames, or recurring leaks call for a broader repair decision.
Frequently asked questions
Can I put new glazing putty over old putty?
New compound needs a clean, sound surface. If the old bead is loose or separating, covering it won't restore its bond to the glass and sash. Removing unstable material also lets you check the wood beneath it. Avoid digging at the joint yourself if the pane is cracked or loose.
Does cracked putty mean rain is entering the house?
Not always. A shallow surface crack may not run through the bead. On the other hand, a visible gap at the glass edge gives rain a possible path, especially during windy weather. Interior stains also may come from the frame-to-wall joint, so their location alone doesn't identify the source.
Should I replace the whole window if the putty is failing?
A sound sash with intact glass may be repairable without full replacement. The answer changes when wood is decayed, the pane is broken, or the window no longer closes properly. An inspection can establish whether the work belongs at the glazing joint, within the sash, or around the entire opening.
Conclusion
That thin crack on the sill side of a window deserves a closer look, but it doesn't settle the repair by itself. The condition beneath the putty determines whether a focused reglazing job can last.
Check for loose glass, damaged sash material, and signs of water beyond the bead. When those signs are present, a qualified professional can identify the entry point before you pay to repair the wrong part of the window.