
How to Plan Shower Glass Around a Built-In Bench
A built-in bench can make a shower more comfortable, but it also changes how the enclosure should be designed. Planning a shower glass built-in bench layout requires more than choosing a door style and measuring wall to wall.
The bench affects panel placement, door clearance, water control, hardware locations, and the final glass measurements. A clean installation starts with the finished tilework, not the rough framing. Begin with the layout, then confirm every glass dimension after the bench and surrounding tile are complete.
How to Plan a Shower Glass Built-In Bench Layout
Start by drawing the shower from above. Mark the bench, curb, showerhead, controls, niches, and drain. This simple plan shows how people will enter, sit, turn, and reach the controls. It also reveals whether the bench creates a tight corner for the door or fixed glass.
Most built-in benches sit along the back wall or one side wall. A side-wall bench often creates more design decisions because the door may need to swing near its front edge. The glass should leave enough room for the door to open without striking the bench, wall, towel bar, or vanity.
The bench's depth matters as well. A deeper seat can reduce the open entry area, especially in a narrow shower. If the bench projects into the entrance, a fixed panel may need to sit on the curb beside it. In some layouts, the glass can continue above the bench. In others, the panel should stop at the bench's outer edge and use a return panel to control spray.
Pay attention to the shower curb. The curb must provide a stable, properly sloped base for the glass. A glass panel should not be positioned over a weak edge, an uneven tile transition, or a section that cannot support the required hardware.
Your initial plan should answer several practical questions:
- Where will the door hinge or pivot?
- Can the door open fully without hitting the bench?
- Which glass panel will contain the shower spray?
- Where can the installer safely anchor clips, hinges, and support bars?
- Will the bench remain comfortable to use after the glass is installed?
A glass enclosure professional can review this layout before fabrication. Custom shower enclosures can be tailored to the finished dimensions and the way your bathroom functions.
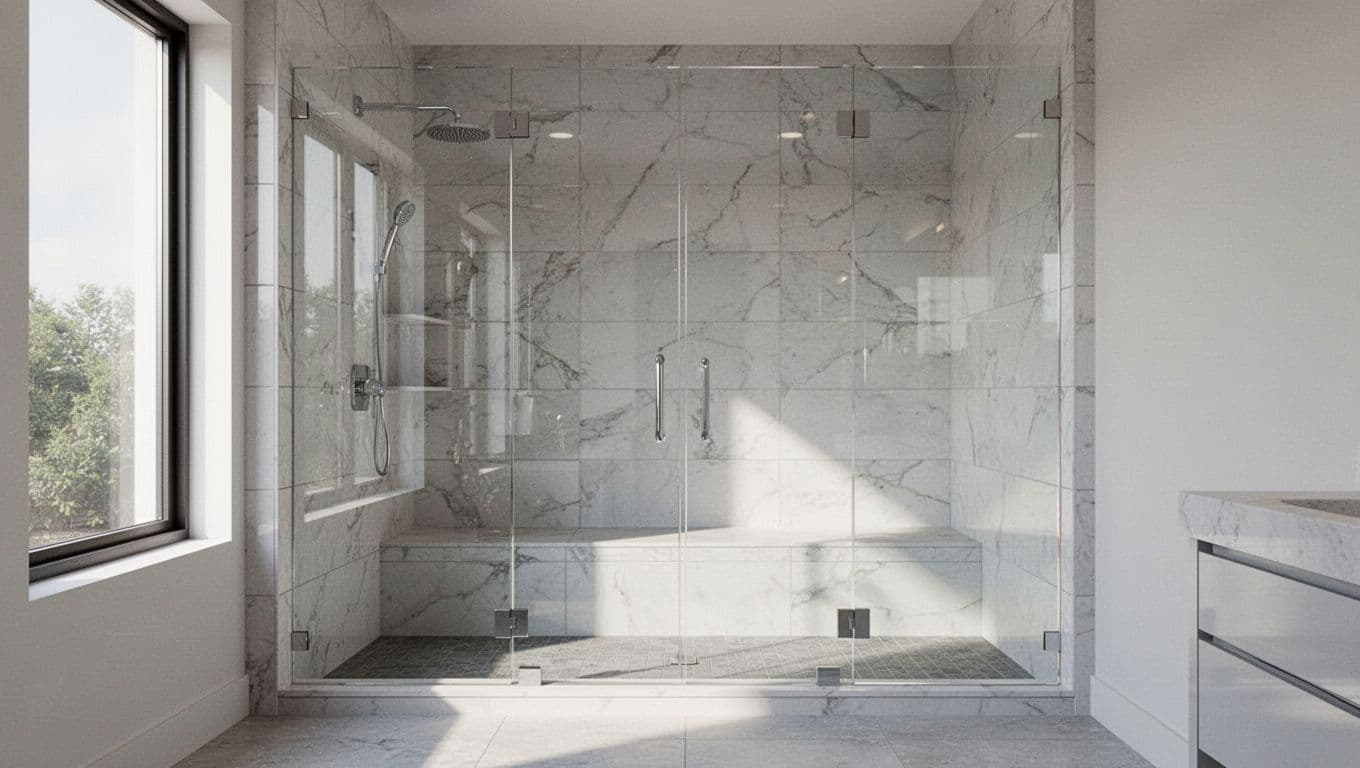
Choose the Enclosure Layout Before Ordering Glass
The enclosure style should follow the bench location, not the other way around. A frameless design can keep the bathroom open and show off the tile, but it still needs careful panel planning around corners and door openings.
An inline enclosure works when the shower opening sits in one straight line. The door and fixed panel share the same plane. If the bench is on the back wall, this arrangement may provide a clean front view with a door centered or positioned to one side.
A 90-degree corner enclosure fits a shower that turns around an outside corner. One panel usually runs along the bench wall, while another creates the entry. This setup can protect the bench from direct spray, but the corner must have enough space for hardware and door movement.
A door with a fixed return panel may work well when the bench reaches close to the entrance. The return panel closes the open side without requiring the door to cover the entire shower width. It can also direct water back toward the drain.
For a compact shower, a fixed panel with a small hinged door may preserve more usable space than a wide swinging door. A bypass door can help when a swing path would interfere with the bench, although its track and overlapping panels create a different visual and cleaning profile.
The door's swing direction deserves special attention. Many shower doors open outward for safety and access, but the final design must comply with applicable installation requirements and the available bathroom space. A door that opens toward the bench may be difficult to use, especially when someone is seated.
Before choosing hardware, stand inside the unfinished opening and trace the proposed door path. Use painter's tape on the floor or curb to mark the glass edges. This quick test can reveal a clearance problem before the tile work is finished.
Set Glass Height and Panel Placement Around the Seat
The top of the glass doesn't have to line up with the top of the bench. In most designs, the enclosure reaches much higher to contain steam and spray. However, the bench can affect where the glass starts, stops, or changes direction.
A panel that runs beside the bench should sit on a properly finished curb or adjacent surface. If the bench extends to the front of the opening, the glass may need to meet the bench's outside corner. That joint must be planned so water doesn't collect on the seat or run outside the enclosure.
Avoid placing a vertical glass seam directly over a complicated tile corner when possible. A seam near the bench edge can create a difficult cleaning area and may require additional hardware. A larger single panel can look cleaner, but its size and weight must fit the available support points and access path.
The bench top should slope slightly toward the drain, as part of the overall waterproofed shower construction. Glass should not be expected to correct a flat or poorly finished bench surface. Likewise, silicone seals protect joints, but they don't replace proper waterproofing behind the tile.
Height also affects ventilation and privacy. Clear glass creates the most open appearance. Patterned, frosted, or partially obscured glass can add privacy where the bench faces the bathroom. If you choose a textured surface, confirm which side should face inside for cleaning and maintenance.
The glass should follow the finished bench and curb geometry. The bench shouldn't be altered to fit glass that was ordered from rough measurements.
A shower glass built-in bench design also needs comfortable access to controls. If the valve sits behind the fixed panel or too close to the hinge side, a user may need to reach around the door. Place controls where they can be operated before stepping under the shower spray.
Select Glass, Hinges, and Seals for the Layout
Clear tempered safety glass is a common choice for custom shower enclosures. The thickness and panel size should be selected by the glass professional based on the opening, support conditions, hardware, and local requirements. Larger panels may require additional support, such as a header, channel, or stabilizing bar.
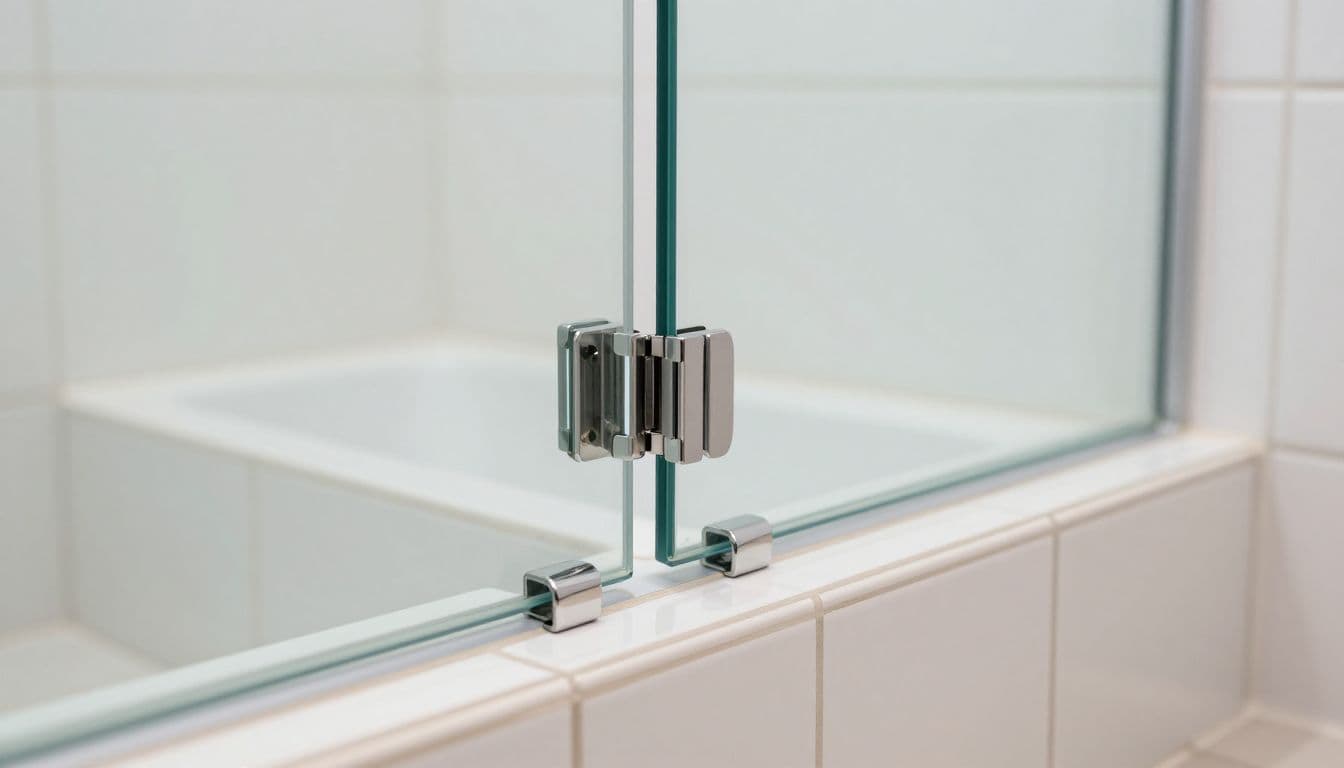
Frameless glass uses hinges and clips with fewer surrounding metal parts. This creates a lighter look, but the tile walls and curb must be straight enough for accurate fitting. Semi-frameless systems add channels or framing in selected areas and can provide more adjustment around uneven conditions.
Hardware placement matters more near a built-in bench. A hinge may need to attach close to a corner, while a clip could conflict with a niche, grab bar, or plumbing line. The installer should know where blocking and framing are located before drilling.
Choose the finish after considering the rest of the bathroom. Chrome, brushed nickel, matte black, and other finishes can coordinate with faucets and cabinet hardware. In a wet area, cleaning habits matter more than appearance alone. The fewer ledges and exposed channels the enclosure has, the easier it may be to wipe down.
A properly fitted door also needs the right seals and sweep. These parts help direct water toward the drain and limit spray at the bottom edge. They can't compensate for a door that is misaligned or a curb that slopes the wrong way.
Schedule the Field Measure After Tile and Bench Work
Early planning is useful, but final fabrication should wait until the shower is ready to measure. Tile thickness, grout joints, bench dimensions, curb slope, wall plumb, and finished floor height can all differ from the original plan.
The most reliable sequence is straightforward:
- Complete the framing, waterproofing, bench construction, tile, grout, and finished flooring.
- Install any trim, niches, wall panels, or surfaces that affect the glass edges.
- Allow the finished surfaces to cure according to the product and installation requirements.
- Have the glass professional take verified field measurements.
- Confirm the panel layout, door swing, hardware finish, glass type, and handle position.
- Fabricate and install the enclosure from those final dimensions.
Field measurements should record more than the width of the opening. The installer may check several points for out-of-plumb walls, measure the curb in multiple locations, and note the exact height and projection of the bench. These details help determine whether the glass needs a scribe, a small gap, a support bar, or a different panel break.
Don't order glass from architectural drawings alone. Drawings show the intended design, but the finished shower determines the actual fit. This is especially important for a shower glass built-in bench installation because the bench creates another finished surface that may meet the enclosure.
Keep the area accessible for the measurement appointment. Remove temporary tools, buckets, and loose materials from the shower. If a door or vanity will limit access later, discuss that timing with the installer before scheduling fabrication.
Avoid Common Bench and Glass Planning Problems
Several problems appear when the glass plan begins too late. A door may open into the bench, a fixed panel may block the controls, or a clip may land where no solid backing exists. These issues are easier to prevent than repair.
Ask your contractor and glass installer to coordinate before the tile is set. They can identify where blocking is needed for hinges, handles, support bars, or grab bars. Plumbing lines also deserve attention because drilling into a finished wall without knowing what is behind it can create unnecessary risk.
Measure the bench's finished front edge, not its rough framing. Tile can add enough thickness to change the opening and shift the point where glass should meet the seat. The same principle applies to the curb and any stone cap.
Avoid treating silicone as a design solution. A thick bead may hide a small gap, but it won't correct a panel that is too short, a wall that is out of alignment, or a bench that drains toward the room. Good glass work depends on accurate surfaces and a layout that accounts for them.
Finally, review maintenance access. A narrow gap behind a bench can be difficult to clean. If the layout creates a tight pocket, consider whether a removable panel, wider opening, or different glass division would make daily care easier.
Conclusion
A successful shower glass built-in bench plan begins with the way the shower will be used. Map the bench, curb, controls, spray direction, and door swing before choosing the final enclosure style.
Then wait for the finished tile and bench construction before taking final measurements. Verified field dimensions should control the glass size, panel placement, hardware, seals, and door position. When those decisions follow the completed shower, the enclosure fits the room instead of forcing the room to fit the glass.