
Mirror Cutouts for Bathroom Outlets: A Safe Guide
A wall-to-wall vanity mirror looks polished until an electrical outlet interrupts the glass. The phrase "mirror cutouts bathroom outlets" describes a custom opening that lets the receptacle remain accessible without breaking the mirror's clean lines.
The work requires more than tracing around a cover plate. Accurate measurements, safe electrical preparation, proper glass protection, and a correctly sized opening all matter. Start with the wall layout, then decide whether a professional should handle the cutting and installation.
Mirror Cutouts Bathroom Outlets: Plan the Wall First
Before ordering a mirror, inspect the entire vanity wall. Note every outlet, switch, sconce, faucet, backsplash, medicine cabinet, and trim piece that could affect the glass.
An outlet near the center of the mirror is usually easier to plan than one close to an edge. A receptacle near a corner may require a larger opening, a different mirror size, or relocation by an electrician. Small notches along a mirror edge can weaken the glass, especially when the opening has sharp inside corners.
The finished wall matters, too. Measure after the tile, backsplash, and trim are installed whenever possible. Changes in wall thickness can shift the outlet box and make an earlier measurement inaccurate.
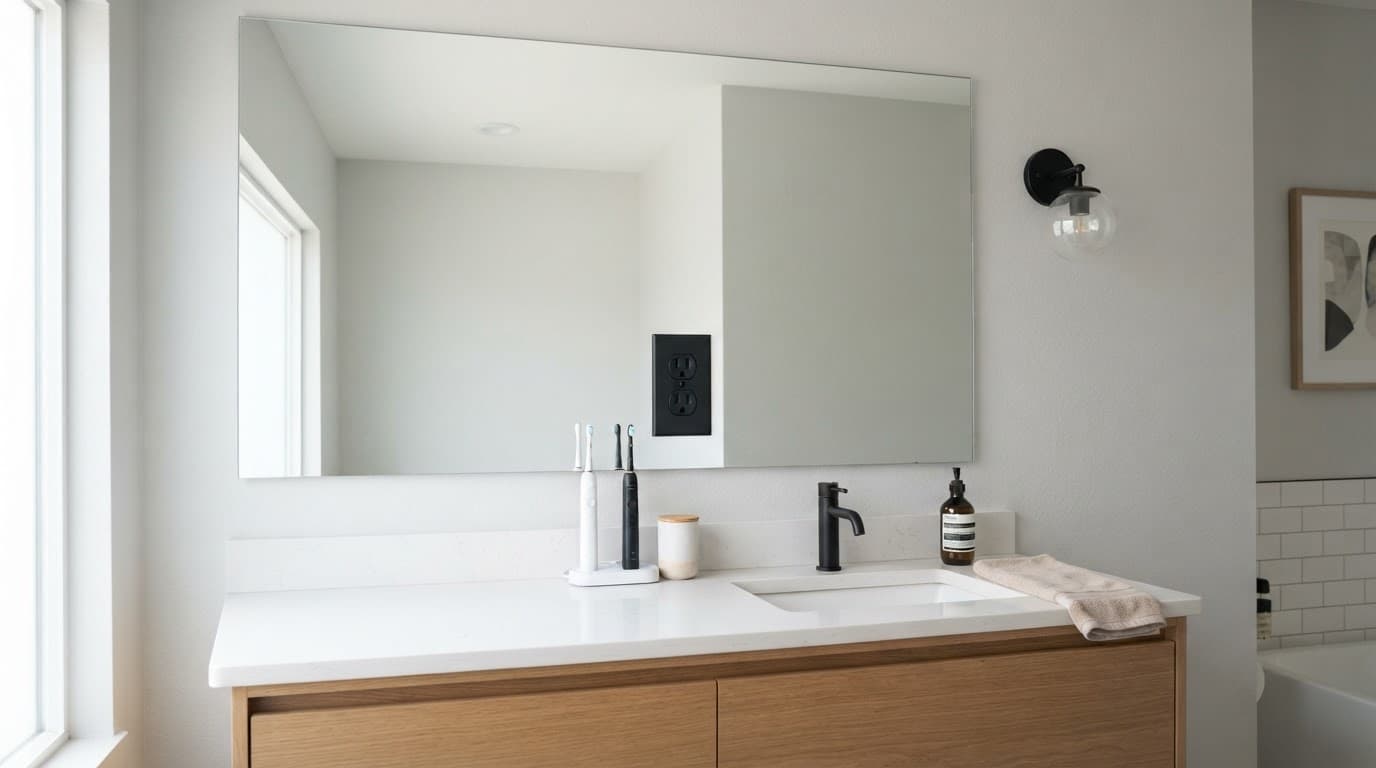
Decide whether you want one large mirror with several openings or separate mirrors divided around the outlets. One large piece gives the wall a continuous appearance, but it may be harder to carry and install. Separate pieces can simplify handling and replacement later.
The mirror's placement also affects the cutout location. If you haven't finalized the height, review these vanity mirror placement tips before measuring the outlet. A mirror that moves upward or downward will also move every opening.
Measure the Outlet Before the Mirror Is Cut
Measure the receptacle from fixed reference points, not from the loose cover plate alone. The cover plate can shift slightly, while the electrical box and finished wall provide more reliable landmarks.
Record the following details:
- Measure the distance from the vanity top or finished floor to the center of the outlet.
- Measure the distance from a side wall, cabinet edge, or another fixed point to the outlet center.
- Note the box's width and height after removing the cover plate.
- Record the cover plate's outside dimensions and how far it overlaps the box.
- Mark the planned mirror edges and account for tile joints, backsplash height, and cabinet clearance.
Take each measurement twice. Then compare the numbers against a full-size cardboard template. Hold the template against the wall and check whether the opening lands over the box, rather than over only part of the receptacle.
Build a "mirror cutouts bathroom outlets" Template
A cardboard template can reveal mistakes before they reach the mirror. Cut a piece to the planned mirror size, mark the outlet opening, and place it on the wall in its final position.
The opening should give the cover plate enough flat surface to sit properly. It shouldn't leave the plate hanging over a wide gap or force the receptacle into an awkward position. Mark the top, bottom, left, and right edges of the mirror on the template. Add arrows or written notes so nobody confuses the viewing side with the wall side.
For mirror cutouts bathroom outlets projects, the cover plate is part of the design, not an afterthought. A plate can conceal a clean, properly sized perimeter around the receptacle. It cannot hide a rough, oversized, or misplaced hole.
A glazier may also ask for photos of the wall and a paper or cardboard template. Provide clear measurements, but let the fabricator confirm the final cutout dimensions before production.
Turn Off Power and Protect the Mirror
Electrical safety comes before any mirror work. Turn off the correct circuit at the breaker panel, not only at a bathroom wall switch. A wall switch may control a light while the receptacle remains energized.
After switching off the breaker, verify that the outlet has no power with a properly rated voltage tester. Test the tester on a known live source before checking the outlet, then test it again afterward. This confirms that the tester works and that the receptacle is actually dead.
Bathrooms often contain GFCI protection. Pressing the reset button or switching off a nearby light does not replace shutting off and testing the circuit. If you aren't comfortable removing the cover plate or identifying the correct breaker, stop and call a qualified electrician.
Keep these points in mind before the mirror arrives:
- Don't remove wires, loosen terminals, or change the receptacle location unless a qualified electrician handles that work.
- Don't cover an electrical box or junction box with a permanent mirror installation.
- Keep the mirror supported on clean, padded surfaces.
- Prevent grit, screws, and tools from contacting the reflective coating or painted backing.
- Never lean a large mirror against an outlet, faucet, or sharp countertop edge.
Glass can crack under pressure that seems minor. The cutout also creates a natural stress point, so never lift a mirror by pushing against the opening.
How to Add the Cutout Safely
A new outlet opening should usually be cut before the mirror reaches the bathroom. Cutting an installed mirror creates dust, vibration, and pressure near the wall, outlet, and countertop. It also makes it harder to support the glass correctly.
A qualified glazier typically follows this process:
- The installer confirms the mirror's finished size, orientation, edge treatment, and outlet locations. All dimensions should come from the same reference edge.
- The electrical area is de-energized, tested, and prepared. The cover plate is removed only after power is verified off.
- The cutout is transferred to the mirror with the correct orientation. The fabricator checks the opening against the box and cover plate before cutting.
- Specialized glass tools create the opening with controlled pressure. Rounded inside corners are preferable to sharp square corners because they reduce stress in the glass.
- The cut edges are smoothed and inspected. A rough edge can damage a cover plate, catch during handling, or leave a visible defect.
- The mirror is dry-fitted carefully, then installed with mirror-compatible adhesive, clips, or another approved support system.
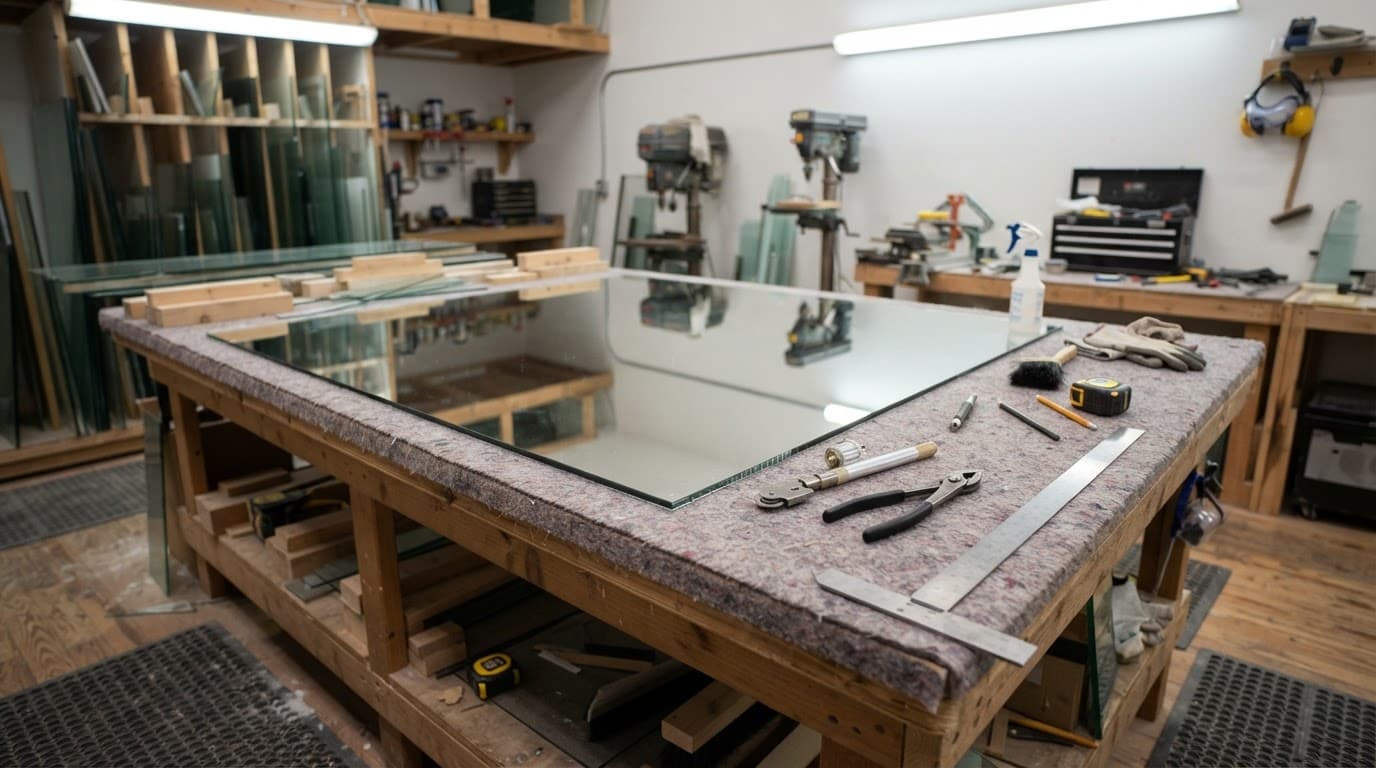
Don't try to drill a large outlet hole with a general-purpose bit. Mirror glass needs specialized cutting equipment, steady support, and the right cooling method. The backing also needs protection because damage can spread beyond the visible opening.
If the mirror is already installed, don't cut it in place unless a qualified glass professional has inspected the situation. The installer must account for the mirror's thickness, backing, adhesive, nearby plumbing, and the wall's ability to support the glass.
Use the Cover Plate to Finish the Opening
After the mirror is secure, the outlet cover plate should sit flat against the finished surface. It should cover the cut edge evenly without pressing hard against the glass.
Use a cover plate approved for the receptacle style. If the mirror thickness changes the position of the electrical box, an electrician may need to adjust the box with approved hardware. The receptacle must remain secure, accessible, and properly aligned.
A plate can hide a narrow, clean perimeter around the opening, but don't use caulk, trim, or an oversized plate to disguise a poor cut. Those fixes often draw more attention to the outlet and can interfere with safe access.
Once the plate is installed, restore power and test the outlet. Check that the receptacle works, the GFCI protection operates correctly, and the plate doesn't wobble or pull away from the wall. If anything feels loose, switch the breaker off again and call an electrician.
Clean the mirror with a soft, non-abrasive cloth. Keep moisture away from the exposed backing and avoid spraying cleaner directly near the outlet or mirror edge.
Know When to Hire a Professional
Call an electrician before the mirror order if you want to move an outlet, add a receptacle, replace a box, or change circuit wiring. Electrical work in a wet-area bathroom must meet local requirements, and a mirror should never make the receptacle inaccessible.
Call a glass professional if the mirror is large, frameless, heavy, close to an edge, or already mounted. Custom cutouts require accurate fabrication and safe handling. A professional can also identify when a split mirror or a revised layout would reduce the risk of cracking.
For homeowners in Fort Myers, custom glass cutting services can provide a better fit than trying to modify a standard mirror on site. Share the outlet measurements, wall photos, and template so the fabricator can review the project before cutting.
A professional installation is especially sensible when outlets sit near sconces, tile corners, plumbing lines, or a glass shower enclosure. Those conditions leave little room for measurement errors.
Conclusion
A clean bathroom mirror outlet opening starts with the finished wall, accurate reference measurements, and a full-size template. Turn off the breaker, verify the outlet is dead, protect the mirror backing, and keep the cover plate in the plan.
For a safe mirror cutouts bathroom outlets installation, let a qualified electrician handle electrical changes and a skilled glazier handle complex cutting. The result should leave the receptacle accessible, the cover plate level, and the mirror looking like it was designed for the vanity.